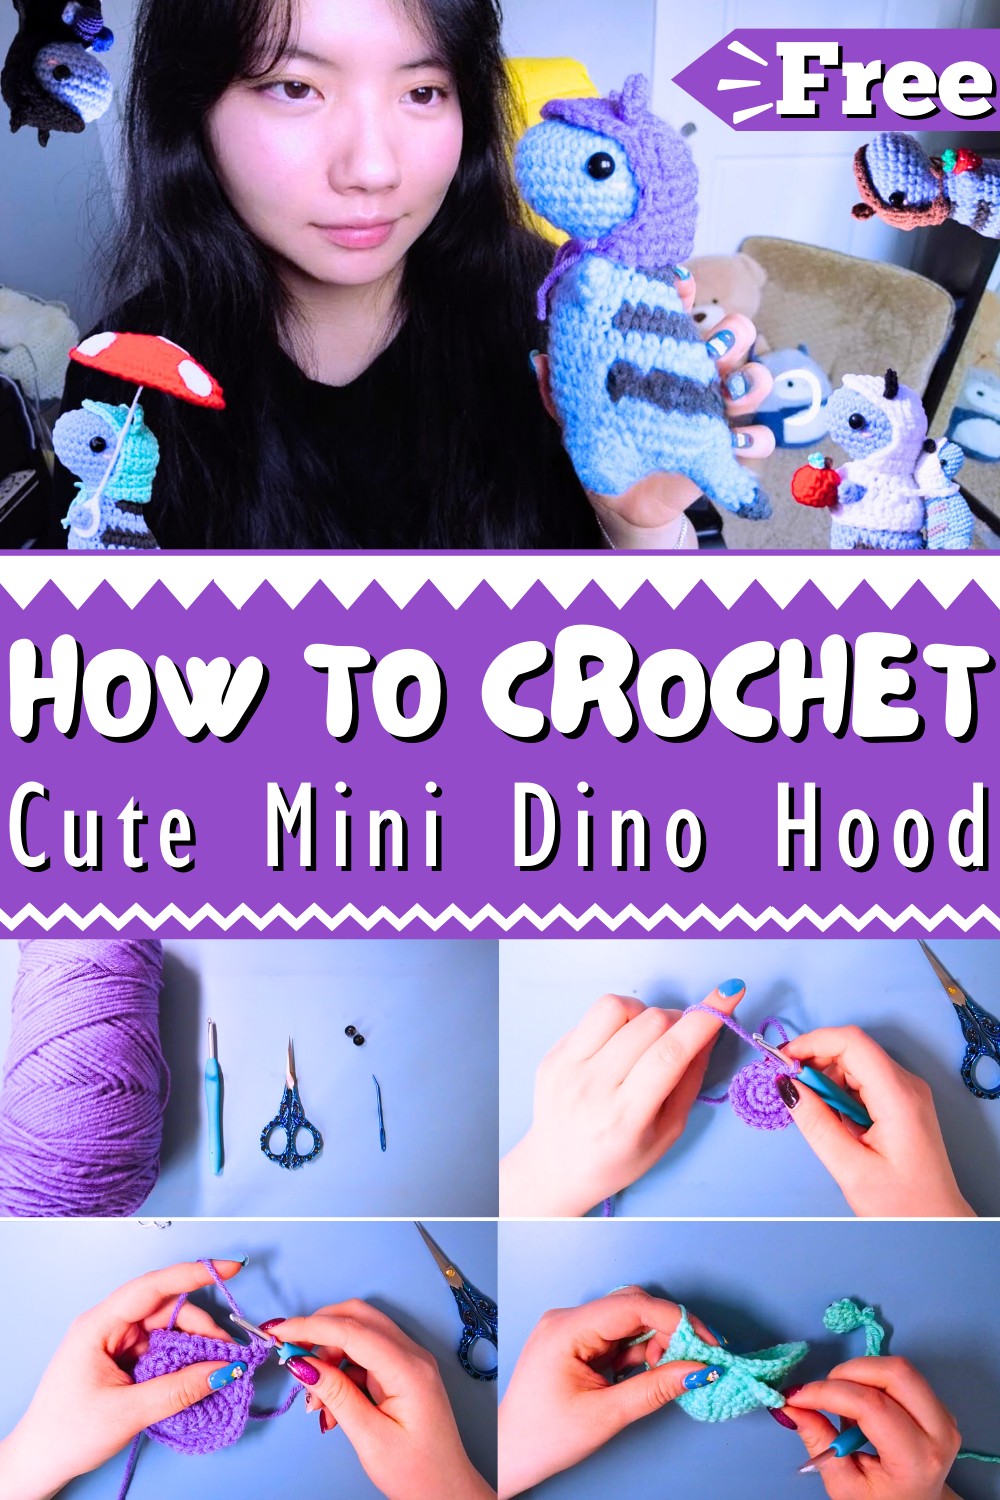
With creative flexibility, the pattern allows you to customize the hood with fun variations like bear ears, frog eyes, or bat wings, giving each Mini-Dino a unique personality. Whether you’re making personalized gifts, playful decorations, or imaginative companions for children, this pattern is sure to enhance your crochet projects with its entertaining and engaging elements. Engage in this magical endeavor and let your creativity shine as you bring your Mini-Dinos to life!
Tip:
Use high-quality yarn for a neater and more durable finish.
How To Crochet Dino Hood
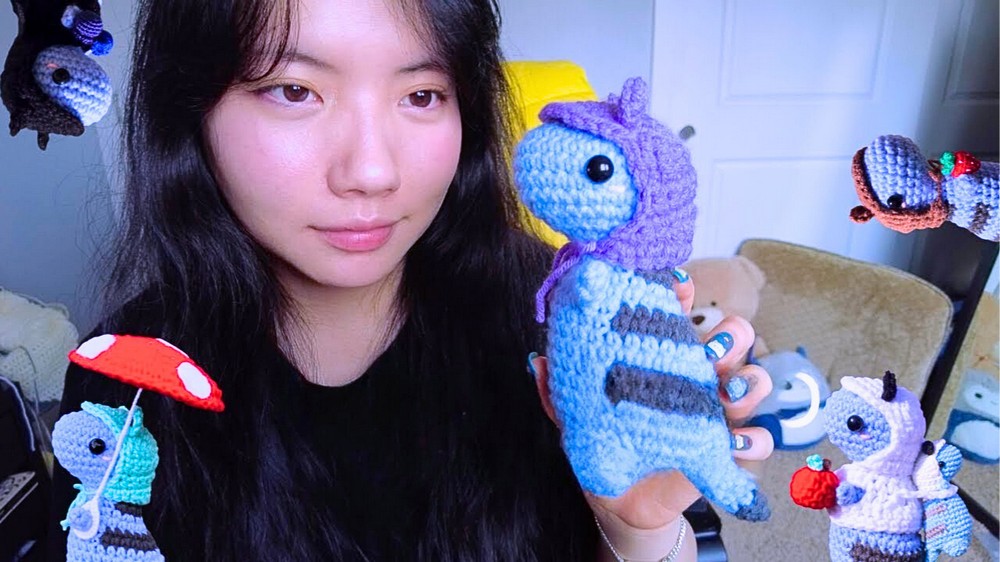
In this project, you will learn how to make a crochet hood for a Dino plush, with various ear and eye options. The variations include bear ears, frog eyes, and bat ears.
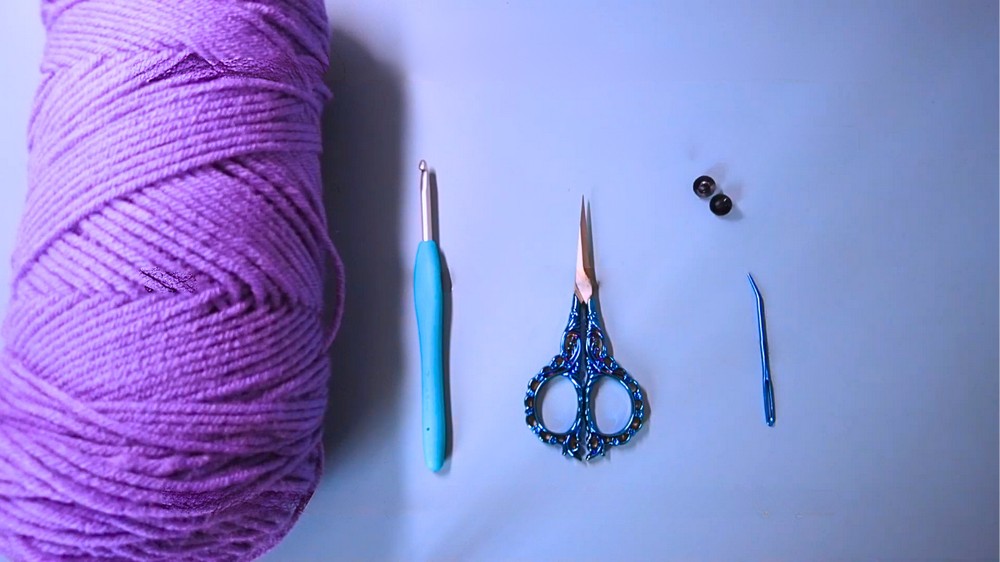
Materials Needed
- Yarn
- Crochet hook
- Stitch marker (optional)
- Safety eyes (for Frog eyes variation)
- Cutting pliers (optional)
- Hot glue (optional)
- Yarn needle
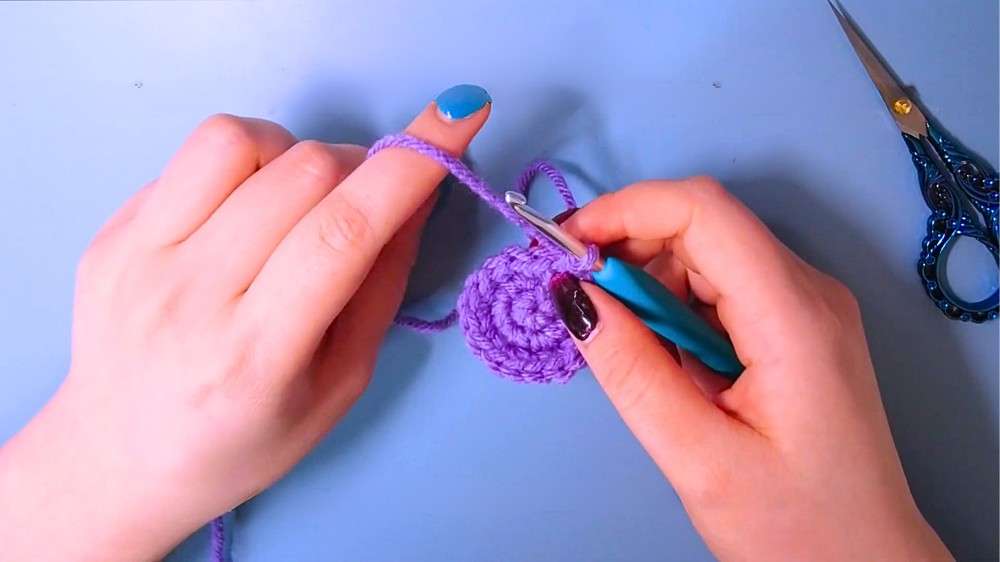
Basic Hood Instructions
- Magic Ring and Single Crochets:
- Create a magic ring with 6 single crochets.
- Increase Rounds:
- Round 2: Make 6 increases (12 stitches).
- Round 3: 1 single crochet, 1 increase, repeated 6 times (18 stitches).
- Round 4: 2 single crochets, 1 increase, repeated 6 times (24 stitches).
- Round 5: 1 single crochet, 1 increase, 1 single crochet, repeated 6 times (30 stitches).
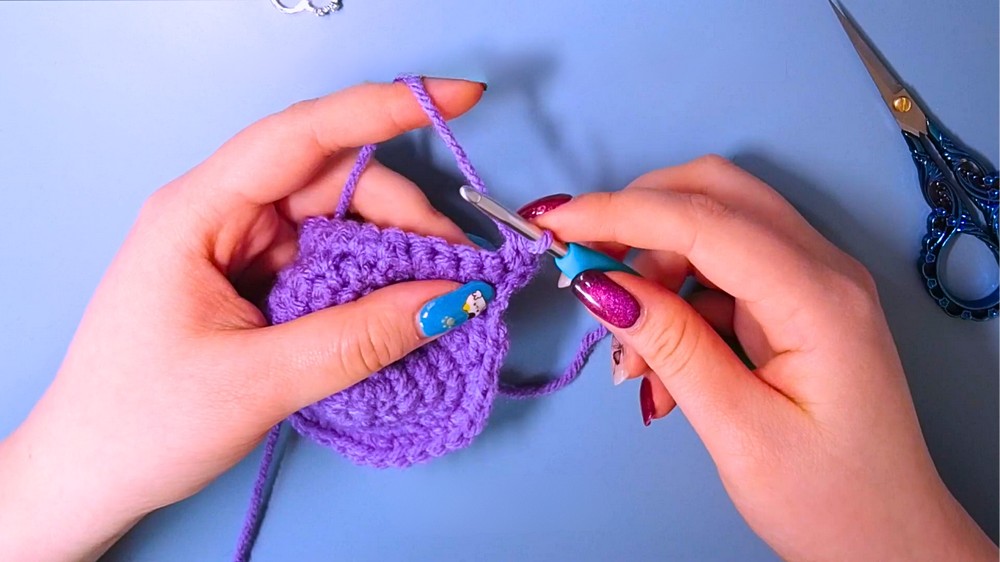
Shaping the Hood
- Creating Rows:
- Row 1: Chain 2, make 2 treble crochets back in the first stitch, then continue with the pattern.
- Row 2: 2 double crochets, 1 half double crochet, 2 single crochets, 1 half double crochet, 2 double crochets, and 2 treble crochets.
Adjusting the Shape
- Increasing:
- Row 3: Chain 2, slip stitch into the first stitch, and turn your work.
- Row 4: 12 single crochets, turn, and repeat the pattern while incorporating decreases.
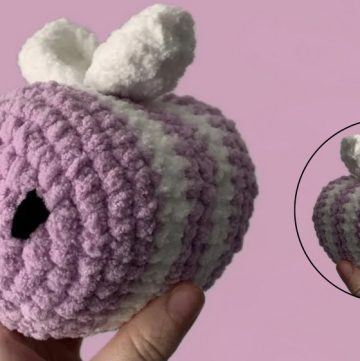
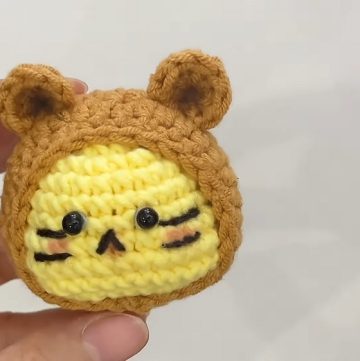
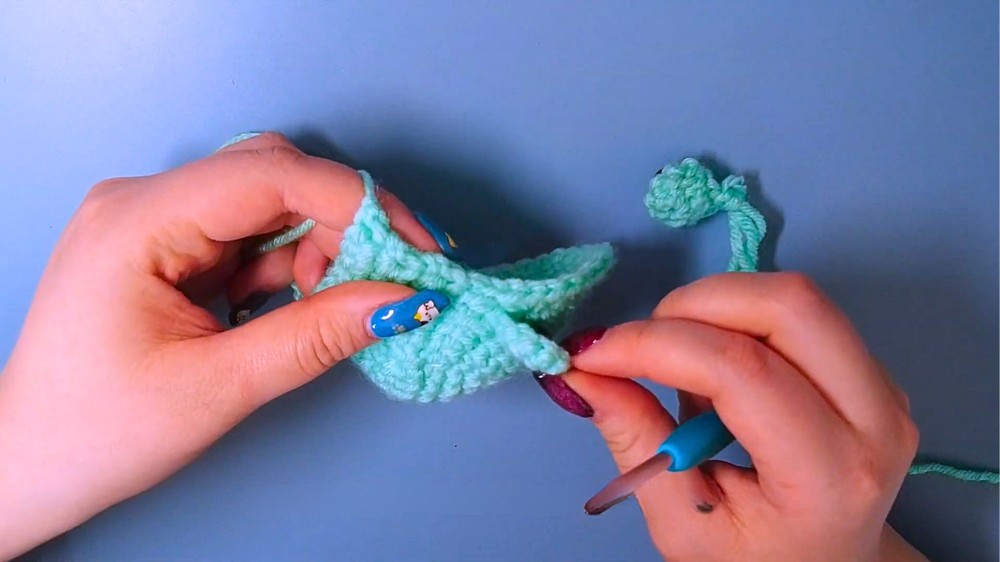
Variation 1: Bear Ears
- Magic Ring:
- Create a magic ring with 7 half double crochets.
- Cutting and Shaping:
- Fasten off, cut the yarn, and shape the ears before sewing them onto rounds 3 and 4 of the hood.
Variation 2: Frog Eyes
- Option 1 (Using Safety Eyes):
- Magic ring with 5 single crochets.
- Round 2: 5 increases (10 stitches).
- Attach safety eyes between rounds 2 and 3 and fasten off with 5 decreases.
- Option 2 (Without Cutting):
- Follow the same starting pattern but do not cut the yarn, and shape the eyes using a hot glue gun if needed.
- Follow the same starting pattern but do not cut the yarn, and shape the eyes using a hot glue gun if needed.
Variation 3: Bat Ears
- Creating the Ear Shape:
- Start with a magic ring and follow a specific sequence: slip stitch, chain 1, half double crochet, chain 1, 3 single crochets, chain 2, and 2 single crochets.
- Attaching the Ears:
- Shape the ear and attach it to the hood, pinching the tip for a bat-like appearance.
- Shape the ear and attach it to the hood, pinching the tip for a bat-like appearance.
Final Assembly
- Attaching Straps:
- Add straps to both sides of the hood to secure it on the Dino.
- Securing the Ears/Eyes:
- Position the ears or eyes on the hood, ensuring they align properly.
- Position the ears or eyes on the hood, ensuring they align properly.
Conclusion
You've now made a custom Dino hood with your chosen variations. Whether you opted for bear ears, frog eyes, or bat ears, your Dino will look charming in its new accessory.