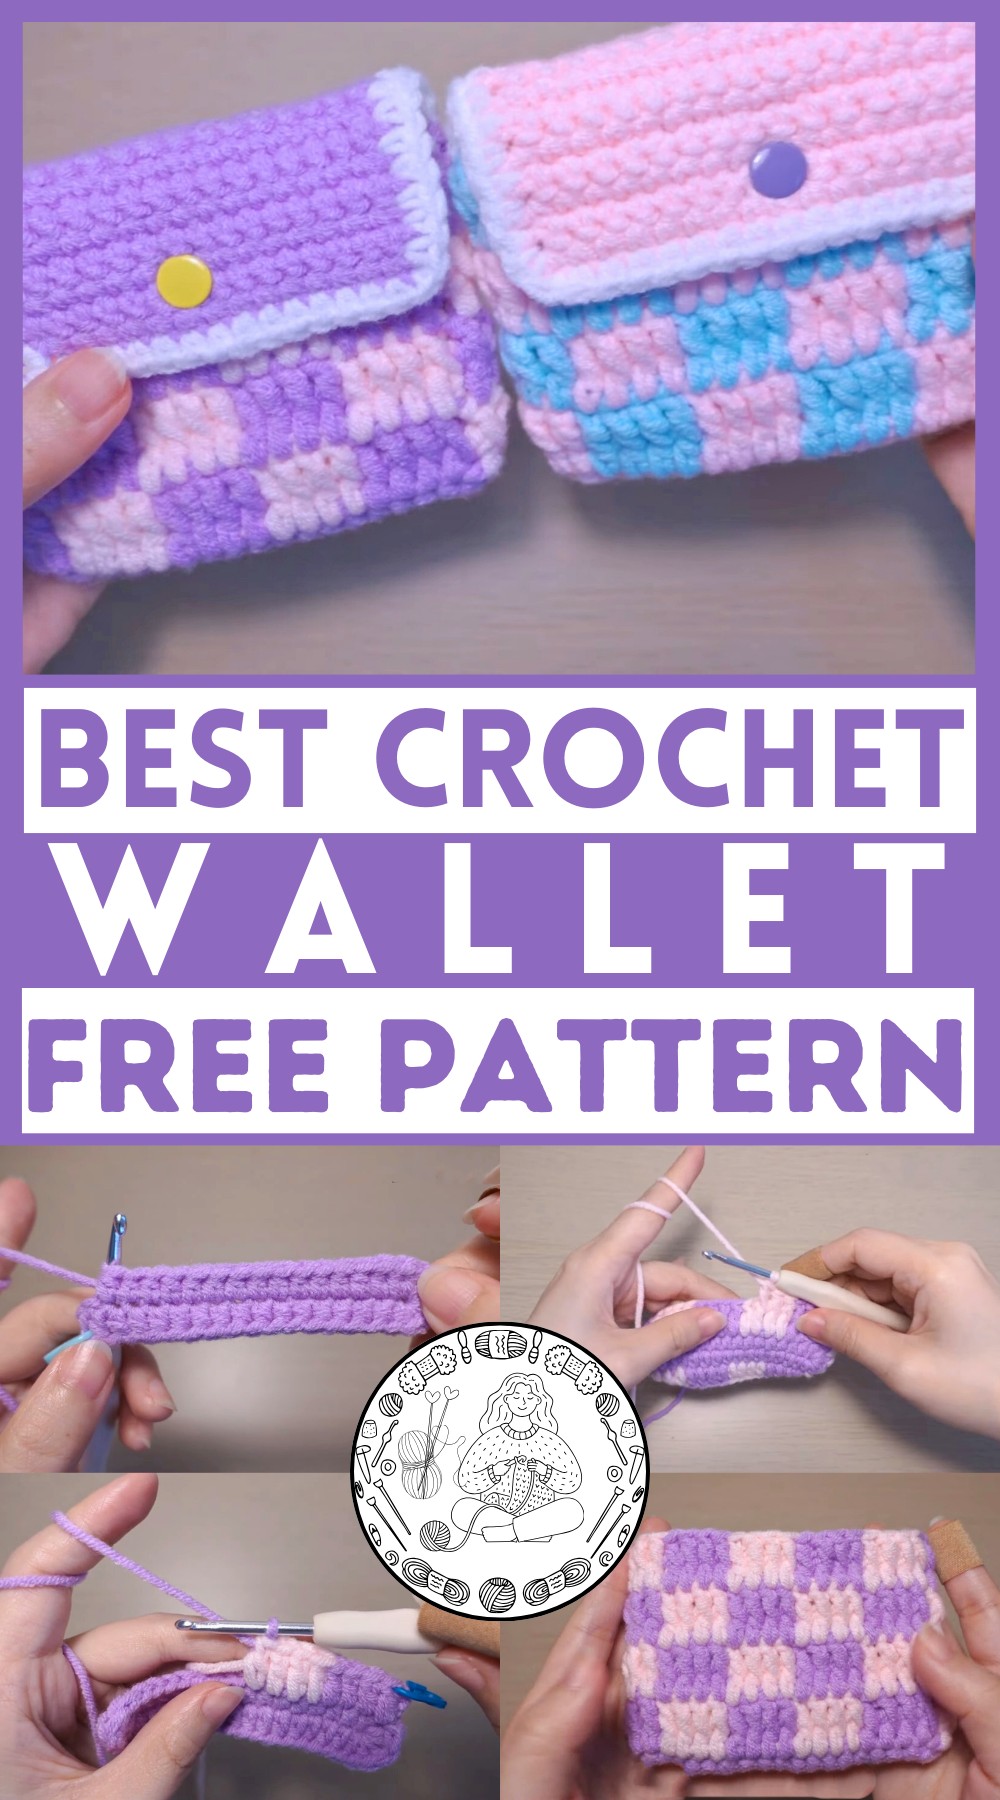
Make your own stylish and functional wallet with this easy-to-understand How To Crochet Wallet tutorial. Ideal for beginners!
Learning to make a wallet using crochet techniques offers a wonderful opportunity to combine practicality with creativity. This project is designed to be user-friendly, whether you're a seasoned crochet enthusiast or a newcomer to the craft. With straightforward steps and minimal materials, stitching your own wallet can be a fun and rewarding endeavor. Each loop and yarn choice adds personal flair, allowing for a unique accessory that’s perfect for everyday use or as a thoughtful gift. Crochet wallets are not only fashionable but also serve as a testament to the skill and patience of their maker.
Why Love This Pattern?
- Detailed Instructions:
- The pattern offers step-by-step instructions, making it accessible even for beginners. Every step is laid out clearly, from making a slip knot to securing the yarn end.
- Color Changes:
- The pattern includes instructions for color changes, adding visual interest and helping to create a vibrant final product. This can be particularly appealing to those who enjoy working with multiple colors.
- Use of Various Stitches:
- The pattern utilizes various stitches like half double crochet, double crochet, and front post double crochet, which adds texture and complexity to the final product, making it visually appealing.
- Repetitive Process:
- The repetitive nature of the steps can be calming and meditative, making it a satisfying project to work on.
- End Finish Touches:
- The pattern guides the user through the finishing touches, including attaching a button, which gives a sense of completion and accomplishment.
Adorable Crochet Color Blocks Wallet Pattern
Materials Needed
- Yarn (in desired colors)
- Crochet hook
- Stitch marker
- Scissors
- Button
Step 1: Make a Slip Knot
- Make a slip knot.
Step 2: Chain 18
- Chain 18.
- Skip 2 chains.
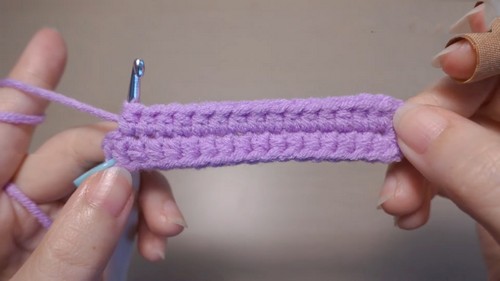
Step 3: Half Double Crochet
- Make 1 half double crochet in the next 15 chains.
- Place a stitch marker in the first half double crochet to mark a point.
- Make 6 half double crochets in the last chain.
Step 4: Continue Half Double Crochet
- Make 1 half double crochet in the next 14 stitches.
- Make 5 more half double crochets in the same stitch where the first half double crochet was made.
Step 5: Turn Work and Slip Stitch
- Turn the work over.
- Remove the stitch marker.
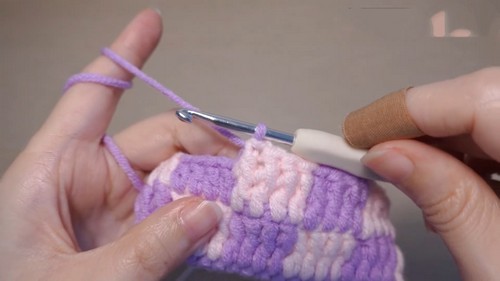
- Insert the hook from the wrong side, grab the loop, and slip stitch.
Round 2: Double Crochet and Color Change
- Chain 2 and turn the work over.
- Make 1 double crochet in the next 4 stitches.
- Change to pink yarn in the fourth double crochet.
- Make 1 double crochet in the next 4 stitches with pink yarn.
- Switch back to purple yarn.
- Continue double crochet 4 times with purple yarn and repeat the process around.
Step 6: Repeat Turning and Slip Stitch
- Turn the work over and remove the stitch marker.
- Insert the hook from the wrong side, grab the loop, and slip stitch.
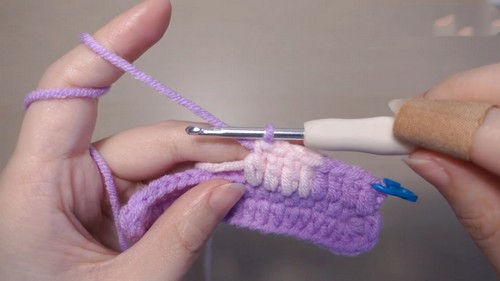
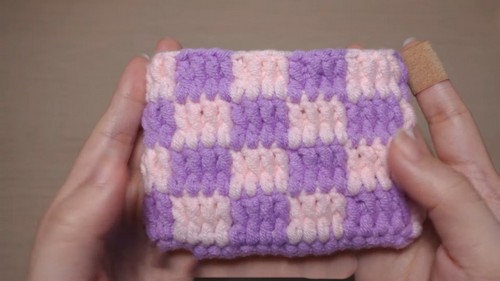
Round 3: Front Post Double Crochet and Color Change
- Chain 2 and turn the work over.
- Make front post double crochet in the next 4 front posts.
- Change to pink yarn in the fourth front post double crochet.
- Make front post double crochet 4 times with pink yarn.
- Switch back to purple yarn.
- Continue front post double crochet 4 times with purple yarn and repeat the process around.
Step 7: Continue Pattern and Color Changes
- Follow similar steps for subsequent rounds, alternating between double crochet and front post double crochet.
- Switch colors at the designated stitches.
- Repeat the pattern around until Round 9.

Final Steps
- After finishing Round 9, turn the work over, remove the stitch marker, and slip stitch.
- Cut and secure the yarn end.
Step 8: Single Crochet Rows
- Make a slip knot and attach the yarn.
- Make 1 single crochet in the next 18 stitches.
- Chain 1, turn the work over, and make 1 single crochet in the next 18 stitches.
- Repeat this process for the next rows.
Step 9: Finish Single Crochet
- In the last row, cut and secure the yarn end.
- Attach the yarn and make 1 single crochet in the next 60 stitches around.
- Remove the stitch marker, slip stitch, cut, and secure the yarn end.
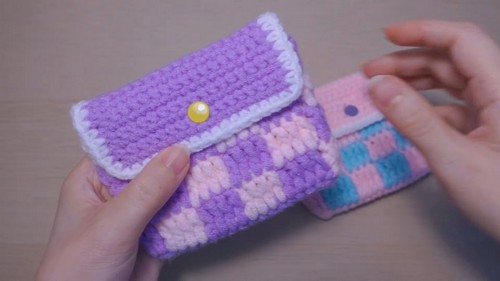
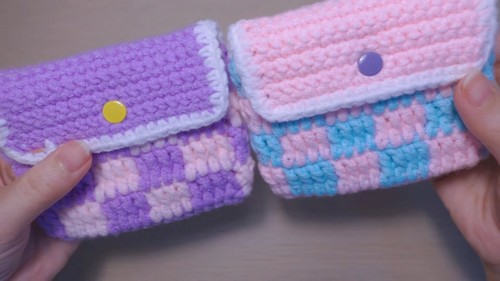
Step 10: Attach the Button
- Attach the button as instructed.
Conclusion
- Congratulations, your No Sew Crochet Plush Carrot is complete!