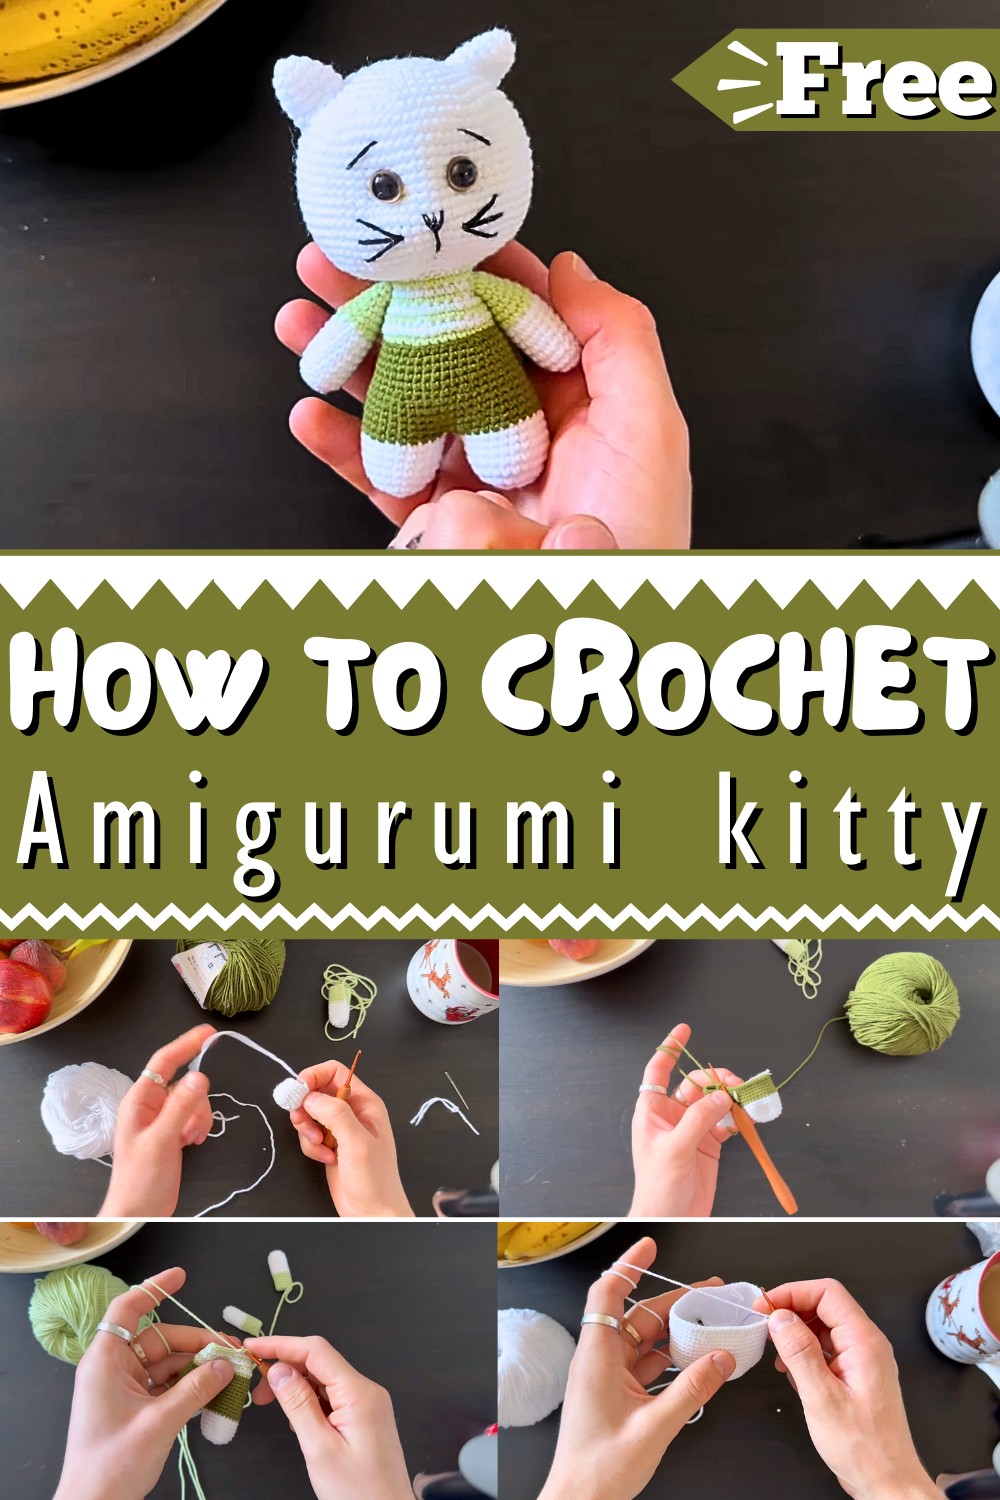
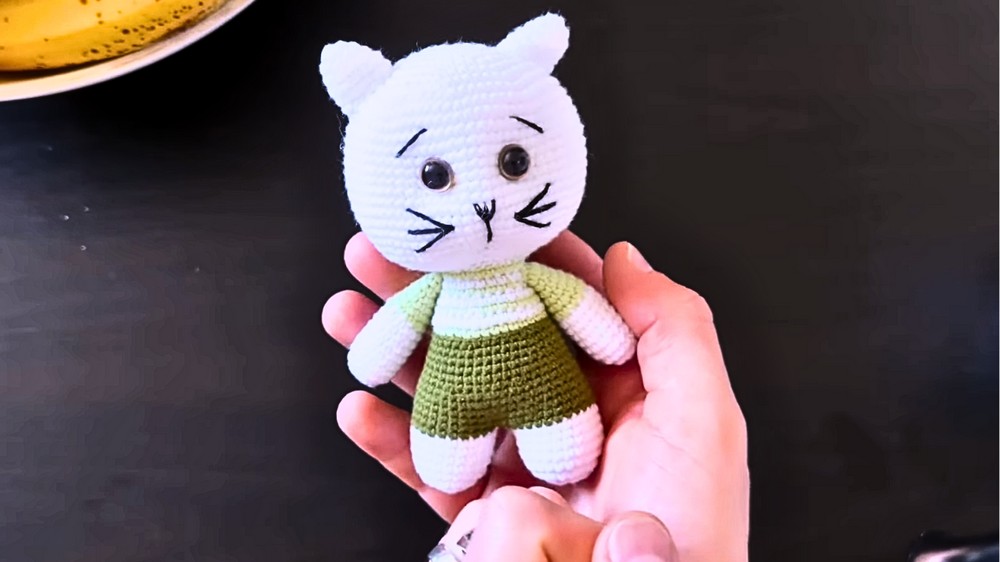
Purr-fectly Fun: Get this Free Crochet Amigurumi Kitty Pattern and Create Your Own Adorably Cute Feline Fiend for Endless Snuggles and Smiles!
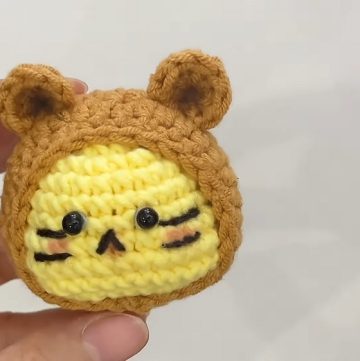
Crochet Amigurumi Kitty Pattern
You'll find endless joy in creating your own Crochet Amigurumi Kitty Patterns, changing simple yarn into lovable feline companions that are perfect for cuddling or gifting. The rewards are plentiful: besides the charming, handcrafted kitty that adds warmth to any space or serves as a heartfelt gift, you'll experience therapeutic benefits that soothe stress and enhance focus.
Crocheting these adorable kitties becomes a joyful pastime, while also infusing children’s rooms with a playful touch or becoming a treasured crochet keepsake. Get creative by experimenting with various yarn colors or accessorizing your kitty with tiny bows or hats for extra character.
Tip:
To ensure your kitty's head remains securely fastened, stuff the body and head firmly yet evenly before sewing them together for a seamless finish.
Step-by-Step Instructions For Crochet Kitty
Welcome to this crochet pattern for making a cute crochet kitty. Follow along with these detailed steps to create your own adorable kitty.
Materials Needed:
- White yarn (specifically mentioned: Jernar Jones)
- Dark green yarn (number 82)
- Light green yarn (number 11)
- Scissors
- Crochet hook (size 2)
- Needle
Headings and Steps:
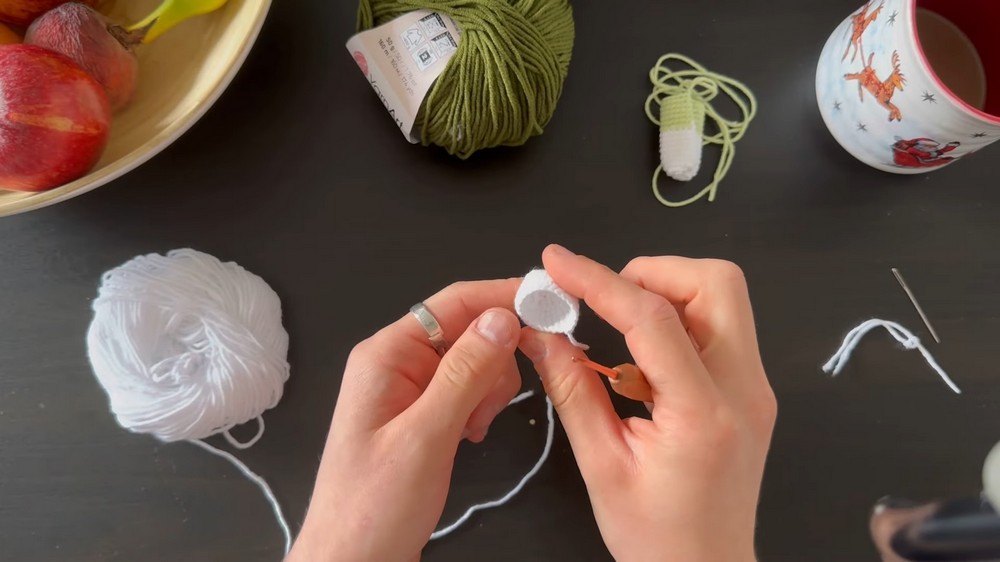
1. Starting the Magic Ring
- Use the white yarn to create a magic ring.
- Inside the ring, crochet 7 single stitches.
- Tighten the ring.
2. Creating the Bodice and Increases
- Make 7 increases in the next round (14 stitches in total).
- Continue by crocheting 7 rows up with 14 stitches each.
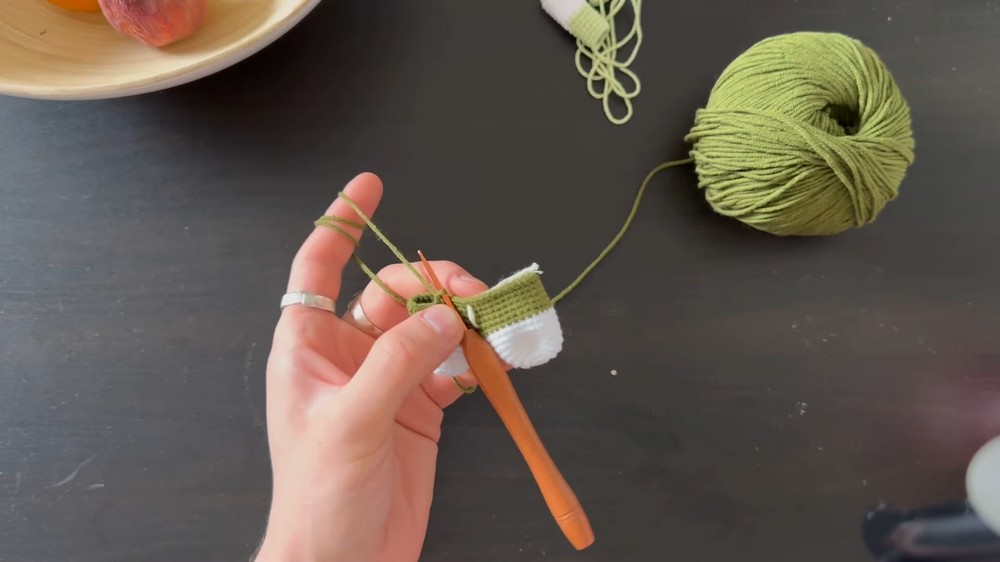
3. Changing Yarn Color for the Bodice
- At the end of the 7 rows, switch to light green yarn.
- Crochet an additional 6 rows in light green, maintaining 14 stitches each row.
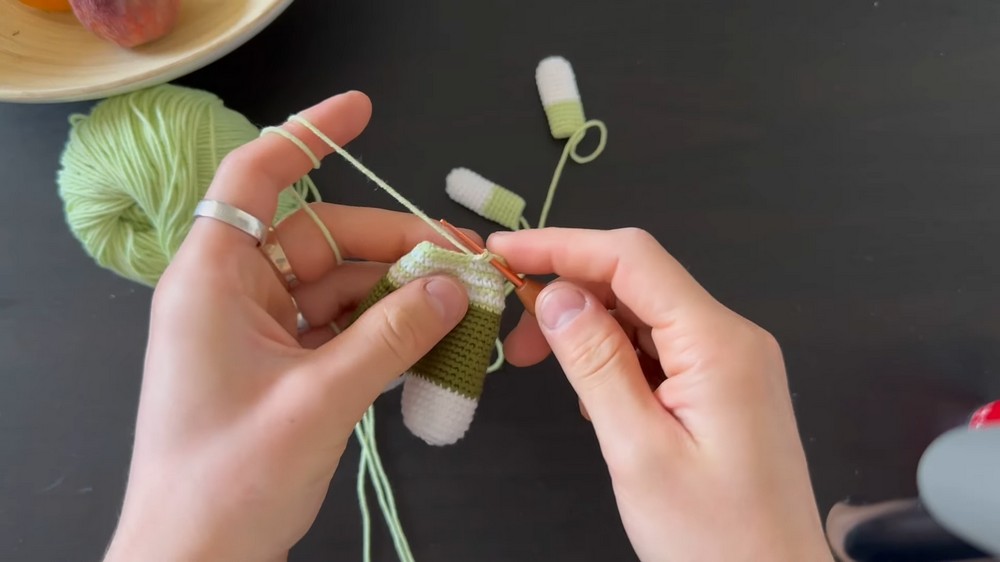
4. Constructing the Hands
- Cut the yarn leaving enough for sewing.
- Repeat all steps for making the second hand.
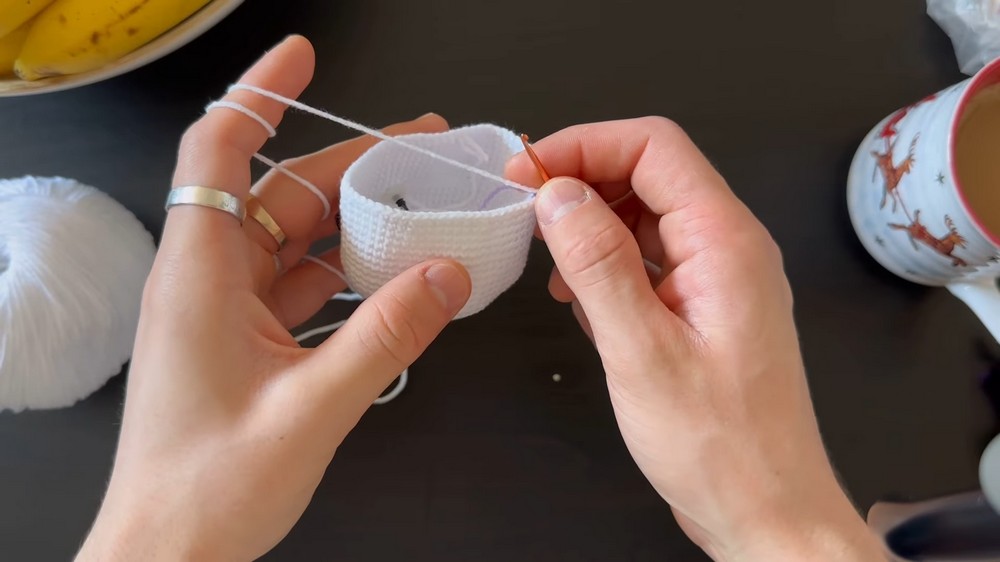
5. Making the Feet and Body
- Start with a magic ring and crochet 8 stitches inside.
- Perform 8 increases to make 16 stitches.
- Continue with one stitch, one increase (total of 24 stitches).
- Crochet 5 rows with 16 stitches each.
- Join the second leg with 24 stitches on each.
- Create a joint stitch between the legs to close any gaps.
- Crochet 5 rows up for the body in green yarn (total of 48 stitches).
6. Adjusting for the Body Shape
- After 5 rows, make 6 stitches and then 1 decrease; repeat this across the round.
- Crochet 3 rows up with 42 stitches.
7. Creating the Top in Different Colors
- Switch to the dark green yarn again.
- Continue alternating rows of white and dark green yarn for the rest of the body.
8. Shaping the Head
- Crochet around the top edge, filling the body as needed.
- Lightly stuff the head with filling material as you crochet to give it shape.
9. Adding Eyes
- Place safety eyes 14 rows down from the top of the head with 9 stitches between them.
10. Decreasing and Closing the Head
- Begin decreasing the head stitches systematically, following the pattern:
- Six stitches decrease, followed by a row with no changes.
- Continue decreasing with subsequent rows up to two stitches and decrease.
- Once the head is sufficiently closed, leave yarn for sewing.
11. Making the Kitty’s Ears
- Start with a magic ring using white yarn.
- Crochet 4 stitches inside, followed by 4 increases (total of 8 stitches).
- Perform 3 stitches, 1 increase; repeat twice.
- Continue to 6 rows, one color at a time.
- Create finishing row, leaving enough yarn for sewing the ears to the head.
12. Assembling the Kitty
- Attach the ears, hands, and feet to the body using white yarn.
- Ensure the head is straight and securely stitched to the body.
13. Embellishing Facial Features
- Embroider the whiskers and nose using needle and yarn of your choice.
- Add eyebrows two stitches up from eyes and two rows across with dark yarn.
- First, create the mouth with a dark triangle shape centered below the eyes.
Conclusion
In conclusion, this detailed step-by-step crochet project takes you through each stage of creating an adorable crochet kitty. From starting with a magic ring to assembling and adding final details, each step is carefully planned to ensure your crochet kitty turns out beautifully.